
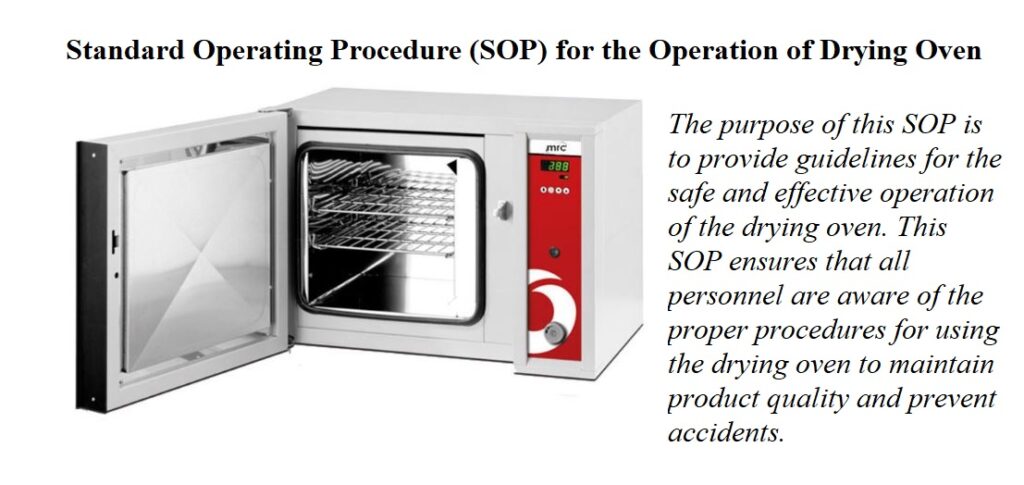
The purpose of this SOP for Operation of Drying Oven is to provide guidelines for the safe and effective operation of the drying oven at pharmaegg.com This SOP ensures that all personnel are aware of the proper procedures for using the drying oven to maintain product quality and prevent accidents.
PURPOSE of SOP for Operation of Drying Oven
To lay down a procedure for the operation of Drying Oven.
SCOPE
This SOP is applicable for the operation of a drying oven used for the depyrogenation of the glassware in the microbiology lab of the Pharmaceuticals.
RESPONSIBILITIES & AUTHORITIES
- Microbiologists are responsible for the operation of dry heat oven as per SOP.
- Microbiology Head is responsible for the preparation and implementation of this SOP as well as for the operation of dry heat oven as per SOP.
- Quality Control Manager is responsible to review the SOP.
- Quality Assurance Manager is responsible to approve the SOP.
- Director Operations is responsible for the final authorization and implementation of the SOP.
DEFINITIONS & ABBREVIATIONS
- Depyrogenation: Depyrogenation is a process that removes pyrogens. The most common and problematic pyrogens are bacterial endotoxins found in the outer cell walls of gram-negative bacteria. Thus, depyrogenation is a process that will either destroy or remove bacterial endotoxins.
- SOP: Standard Operating Procedure
- N.A: Not Applicable
PROCEDURE
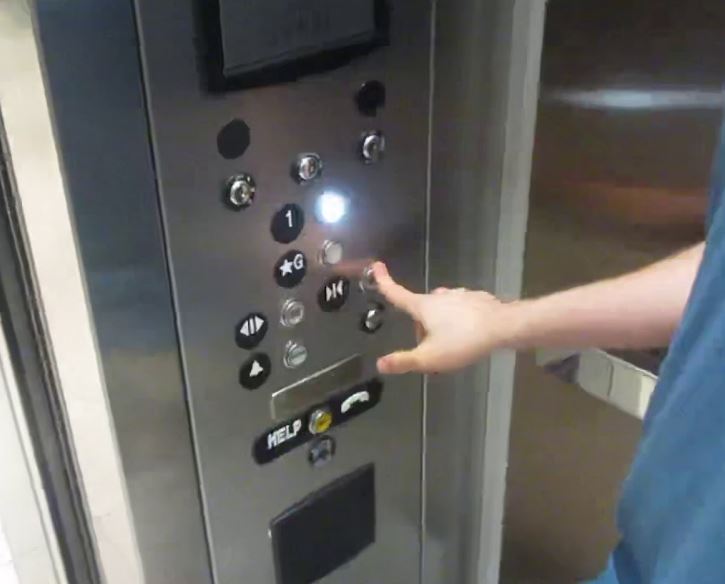
Switching on the Appliance
- Switch on the appliance by pressing ON/OFF switch on the front of the appliance.
- The starting process is shown by three animated white dots. If the dots have another color, an error has occurred.
- After the first start-up, the appliance display is set to English by default.
Opening of the Door
- To open the door, pull the door handle to the side (to the left or to the right, depending on the door variation and open the door.
- To close the appliance, push the door closed and the door handle to the side (B).
- If the door is open while the appliance is in operation, the appliance may overheat and pose a fire hazard.
- In case of appliances of a certain size, you can get accidentally locked in, which is life-threatening. Do not climb into the appliance.
Loading of the Appliance
- Insert the sliding steel grids or sliding shelves.
- The chamber must not be loaded too tightly, so that proper air circulation in the working chamber is guaranteed.
- Do not place any chamber load on the floor, touching the side walls or right below the ceiling of the working chamber.
- In case of improper loading, the set temperature may be exceeded, or it may take longer until it is reached.
- Grid or Shelf must be set in the menu under setup.
Operating the Appliance SOP for Operation of Drying Oven
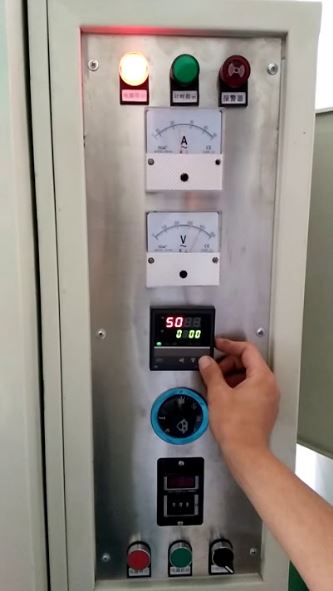
Control Cockpit
- Following keys are mentioned on control cockpit UNxx/INxx appliances under operating mode.
- Activation key for temperature setpoint adjustment.
- Setup and actual temperature display.
- Fan speed display
- Activation key for fan speed setting
- Switch to menu mode
- Activation key digital backwards counter with target time setting, adjustable from 1 minute to 99 days
- ON/OFF switch
- Display digital backwards counter with target time setting, adjustable from 1 minute to 99 days.
- Air flap position display
- Activation key for air flap position adjustment
- Turn control for setpoint adjustment.
- Confirmation key (accepts setting made with the turn control)
Basic Operation SOP for Operation of Drying Oven
In general, all settings are made according to the following pattern.
- Activate the desired parameter (e.g. temperature). To do this, press the corresponding activation key on the left or right side of the corresponding display. The activated display is lined in color, the other displays are dimmed. The set value is highlighted in color.
- By turning the turn control to the left or right, adjust the set value (e.g. to 80°C).
- Save the set value by pressing the confirm action key. The display returns to normal, and the instruments begin to adjust to the set value.
- If no new values are entered or confirmed for approx. After 30 seconds, the device automatically returns to the main menu and restores the previous values.
- If you want to cancel the setting procedure, press the activation key on the left or right of the display that you want to exit. The appliance restores the former values. Only settings that you have confirmed by pressing the Confirm key before canceling the setting procedure are accepted.
Adjustment Options
- You can set the following parameters after pressing the corresponding activation key.
- Temperature
- Adjustment of the range is model dependent.
- Heating operation is indicated by the heating symbol.
- You can select °C or °F as the temperature unit displayed.
- SOP for Operation of Drying Oven
Air Flap Position
- Adjustment range: 0 % (closed, recirculating operation) to 100 % (completely opened, fresh air operation) in steps of 10%.
Timer Setting
- Press the activation key to the left of the timer display. The timer display is activated.
- Turn the control until the desired duration is displayed in this example 4 hours 30 minutes. The approximate end time is shown beneath, in a smaller font.
- Press the confirmation key.
- Now, as described under the heading of Basic Operation set the individual values for temperature, air flap position etc. On which you want the device to work. Set values can be changed at any time during the elapse of the timer. Changes take effect immediately.
Electronic Temperature Monitoring
- The monitoring temperature of the electronic temperature monitoring is measured via the Pt100 temperature sensor in the interior of the chamber. The temperature monitoring type (TWW/TWB) and monitoring temperature are set in menu mode in the setup display. The configuration created applies to all operating modes.
- If the manually set monitoring temperature is exceeded, temperature monitoring takes over temperature control and begins to regulate the monitoring temperature or switches off the heating.
Ending Operation
- Switch off active appliance functions.
- Let the chamber cool down till 40°C.
- Remove the chamber load.
- Switch off the appliance.
- SOP for Operation of Drying Oven
Standard Temperature and Time Setting for Depyrogenation
- Dry heat depyrogenation endotoxin requires 250°C for 30 minutes.
Precautions
- Carefully read the operating manual before starting using the appliance.
- Before changing menu settings, read the description of the respective functions on the following pages to avoid possible damage to the appliance or chamber load.
- There should be uninterrupted power supply for the operation of appliance.
- Do not place material/load along the walls of the chamber. Place them in the center of the chamber before closing the door.
- The appliance may only be operated by persons who are of legal age and have been instructed accordingly.
Cleaning the Appliance
- There should be proper cleaning of the appliance after use.
- The base and the trays/mess are cleaned properly after regular intervals.
- There should be no rust or stain inside the chamber or on the trays/mesh.
NOTE: Following information will be in the operation and maintenance logbook of dry heat oven (QCMI-000).
- Date
- Temperature achieved time.
- End time
- Total Time
- Temperature
- Equipment / Tools
- Performed by
- Verified by
- SOP for Operation of Drying Oven